3. Install VidyoConnect Room SE (Modern UI)
This chapter explains how to install and run the following group video solutions as an application on your computer (running Windows 10) and how to make Windows performance configurations:
- VidyoConnect Board Room SE (Boardroom experience)
- VidyoConnect Meeting Room SE (Mid-size to large meeting rooms)
- VidyoConnect Huddle Room SE (Small meeting rooms)
|
Note Starting with version 21.1.0, VidyoConnect Room SE offers support for an MSI installer. The MSI installer enables IT admins and enterprises to provision VidyoConnect Room seamlessly across their user base. The MSI installer works with Windows 10 and later only, installs the Modern UI, and can be used as a silent installer. For more information about how to use the MSI installer, refer to the VidyoConnect Room SE MSI installer article in the Vidyo Help. |
Run the VidyoConnect Room SE installer
To run the VidyoConnect Room SE installer:
- Click the VidyoConnectRoomInstaller Download button. The VidyoConnectRoomInstaller.exe will start downloading in the left-corner of the window and will display the License Agreement window.
- When installing or upgrading the VidyoConnect Board Room, Meeting Room, or Huddle Room SE software, you may encounter a prompt from Windows asking, "Do you want to allow the following program to make changes to this computer?" You must select Yes for the installation to proceed.
- Click Open to permit the installer to run. Note that if the Defender SmartScreen does not display, the License Agreement page will display as in the next step. The Windows screen will display.
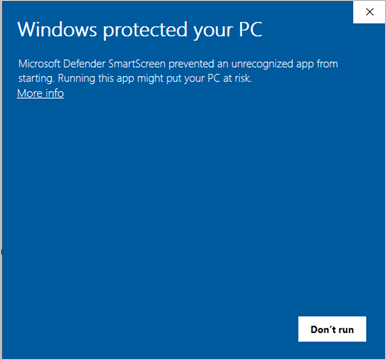
- Click More info and then click Run anyway. The License Agreement page displays.
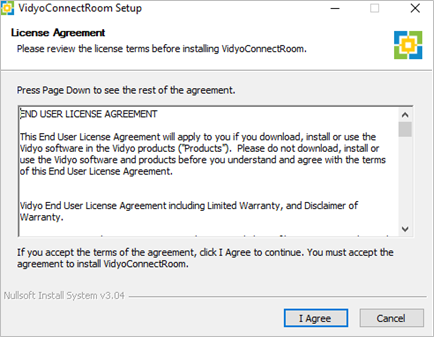
- Read the End User License Agreement and then select I Agree. The Please Select Room Model pop-up displays.
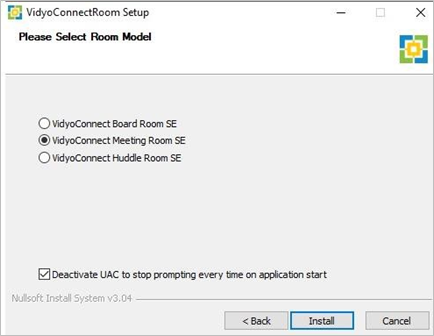
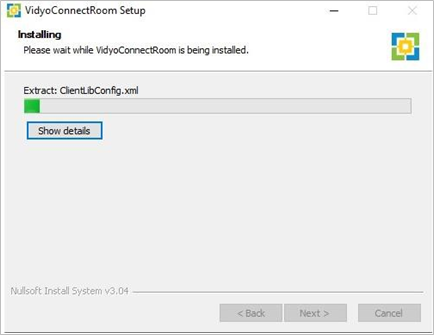
- Click the VidyoConnect Room that you want to install. During the installation, the Installation and the FTDI CDM Drivers screens display. This part of the installation runs one time for all computers and provides the necessary drivers for using the IR remote control.
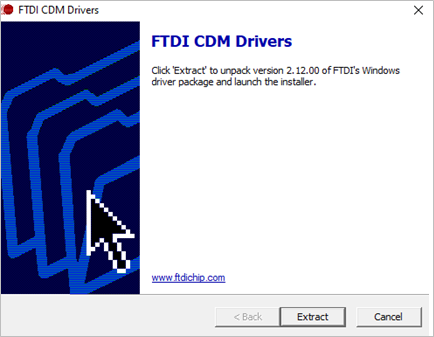
- Click Extract. The Welcome to the Device Driver Installation Wizard screen displays.
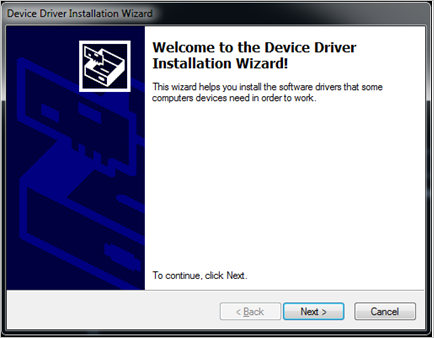
- Click Next. The License Agreement screen displays.
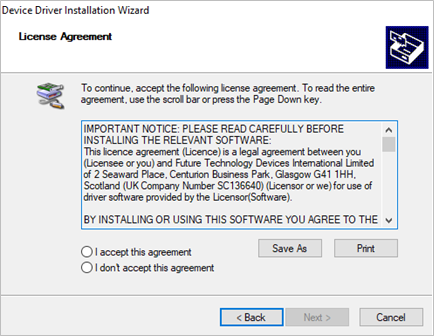
- Read the Important Notice and then click I accept this agreement. The Completing the Device Driver Installation Wizard pop-up appears lets you know that the drivers were successfully installed on the computer.
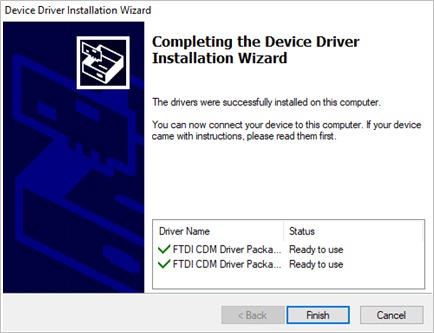
- Click Finish. The Installation Almost Complete window displays.
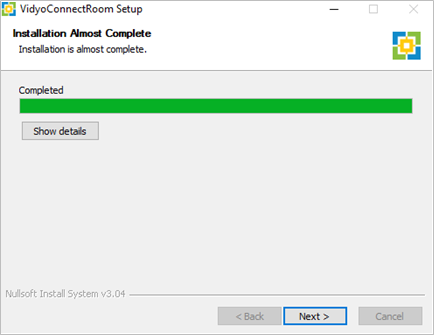
- Click Next. The Installation Complete window displays this message, "Would you like to restart your computer to complete the installation?"
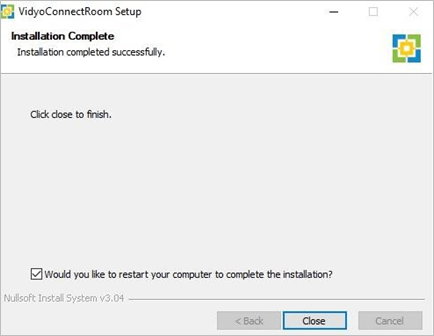
- Click Close and your installation is complete and the application starts (if you did not deselect the Would you like to restart your computer to complete the installation? checkbox).
|
Note You must run the VidyoConnect Meeting Room SE installer as an Administrator in order to have all the privileges required to change the OS settings, use other driver APIs, etc. If you do not run it as an Administrator, the VidyoRoom Admin UI will display the Application is NOT running with Admin privileges warning. |
|
Note UAC (User Account Control) is a feature in Microsoft Windows that warns users with a dialog whenever a program tries to make changes to the system. The dialog asks, "Do you want to allow the following program to make changes to this computer?" The dialog then provides details about the program name and publisher along with a selection to choose Yes or No. If you want your VidyoConnect Room to start automatically, keep the Deactivate UAC to stop prompting every time on application start checkbox selected. If you want your group video solution to run only after your consent, uncheck the box. |
