VidyoGateway Virtual Edition (VE)
The VidyoGateway Virtual Edition (VE) allows you to enjoy the benefits of the VidyoGateway within a virtual environment.
Requirements, support, and features
- VidyoGateway VE requirements
- VidyoGateway VM provisioning requirements
- VidyoGateway VE support of VMware features
- Install VidyoGateway VE
VidyoGateway VE requirements
You can run multiple Virtual Edition Vidyo servers (of any combination) on the same physical host when using VidyoGateway version 3.2.0 and later. Virtual Edition Vidyo servers may be run on hardware that is also running non-Vidyo virtual machines.
For existing deployments
If you have an existing Virtual Edition software deployment, you can upgrade to newer software releases using the same hardware and virtual machine configurations. However, to be supported under the guidelines (such as sharing physical hosts with multiple virtual machines), your virtual machines must adhere to the virtual machine configurations listed in this section.
The guidelines provided here apply to VMware ESXi 5.0 and later. In the future, as additional virtualization platforms are tested, Vidyo will provide updated guidelines.
Recommendations
Based on our testing, the following recommendations should be considered when planning a virtual infrastructure:
- Requires VMware vSphere ESXi Hypervisor software version 5.0 or later; version 5.5 or later recommended.
- Must be compliant with the VMware qualified hardware list at http://www.vmware.com/resources/compatibility/search.php
- Requires Intel-based servers with a minimum Xeon 56xx Series at 2.0 GHz or faster, supporting Intel Westmere and newer architectures, with AES-NI and hyper-threading enabled. Xeon E5 family with Sandy Bridge architecture or newer are recommended.
- At least 1Gbps vNICs.
- The BIOS settings of the host machine must be set for maximum performance, including both CPU and memory settings.
- The BIOS settings must enable the Hyperthreading, Virtualization Technology (VT), and Extended Page Tables (EPT) options on all ESX hosts.
- The memory must be the highest rated speed specified by the host CPU, and all memory lanes of the CPUs must be populated with identical size and speed DIMMS.
- For 4+ socket systems, set your CPU affinity to two adjacent packages to ensure that transcoding occurs on memory at most one node away.
- For large memory configurations (64 GB+), ensure that memory access is coalesced from multiple memory channels, for example, by enabling bank interleaving in the BIOS.
- When running multiple virtual Vidyo servers:
- Maintain 15% of the physical hardware CPU capacity as unreserved when deploying multiple virtual machines on a physical host.
- When deploying multiple VidyoRouters on the same physical host, ensure that you have sufficient network bandwidth. The physical host should have 1 Gbps Ethernet per 100-port VidyoRouter.
- The physical host must use CPUs with at least 2.0 GHz in all cases, and in some cases higher CPU speeds are required. See the CPU resource reservation guidelines in VidyoGateway VM provisioning requirements.
- Do not co-locate high availability pairs on the same physical host.
VidyoGateway VM provisioning requirements
VidyoGateway determines the capacity based on the available CPU. When reserving resources and configuring the virtual machine, the configurations in the table below must be adhered to ensure optimal performance.
|
VidyoGateway capacity |
VM configuration |
Resource reservation |
||
|---|---|---|---|---|
|
|
RAM (GB) |
Storage (GB) |
CPU (GHz) |
RAM (GB) |
|
1 HD/2 SD/4 CIF/ 10 voice |
2 |
50 |
2 |
2 |
|
2 HD/1 FHD/4 SD/8 CIF/ 20 voice |
2 |
50 |
4.4 |
2 |
|
4 HD/2 FHD/9 SD/ 15 CIF/50 voice |
6 |
50 |
8.8 |
6 |
|
5 HD/2 FHD/12 SD/ 25 CIF/75 voice |
8 |
50 |
12 |
6 |
|
8 HD/4 FHD/18 SD/ 50 CIF/100 voice |
12 |
50 |
20 |
12 |
|
10 HD/5 FHD/20 SD/ 50 CIF/125 voice |
15 |
50 |
25 |
15 |
|
Note The number of vCPU should be configured as the minimum number that is necessary to achieve the required CPU reservation. There is no longer a minimum host CPU speed; however, different numbers of vCPU will be required to achieve the resource reservation based on the host CPU speed. |
To take advantage of the resources available in more powerful servers, multiple Virtual Edition VidyoGateways may be deployed on the same physical host. Additionally, VidyoGateways of differing capacity may be added to the same cluster.
VidyoGateway VE support of VMware features
The following list includes VMware features and explains both if and how they are currently supported by VidyoGateway VE:
- You can store and deploy backup copies of your VidyoGateway VE appliance using vSphere’s export and import features.
- While your VidyoGateway VE appliance is powered off, it may be moved (cold migration) or copied (cloned) from one host (or storage location) to another.
- You can resize your virtual machine and add vCPUs and vRAM; however, vNIC and removing virtual hardware resources are not currently supported.
- VidyoGateway software updates are managed in the same manner as the regular appliance. Always take snapshots (while your VidyoGateway VE appliance is powered off) before updating.
- Advanced features, such as vMotion, high availability, fault tolerance, and distributed resource manager are not currently supported.
Install VidyoGateway VE
This section describes how to install the VidyoGateway VE.
|
Note The virtual appliance's filename reflects the appliance type and the software version. The following screenshots refer to the deployment of a VidyoGateway virtual server appliance with the latest software version at the time of release. For information about release versions, refer to the VidyoGateway Release Notes. |
To install the VidyoGateway VE:
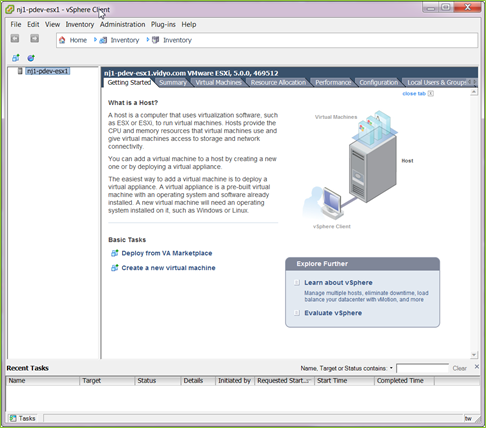
- Log in to the vSphere client (provided with VidyoGateway VE) on your system.
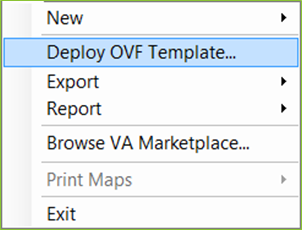
- Select Deploy OVF Template from the File menu.
The Source dialog box opens.
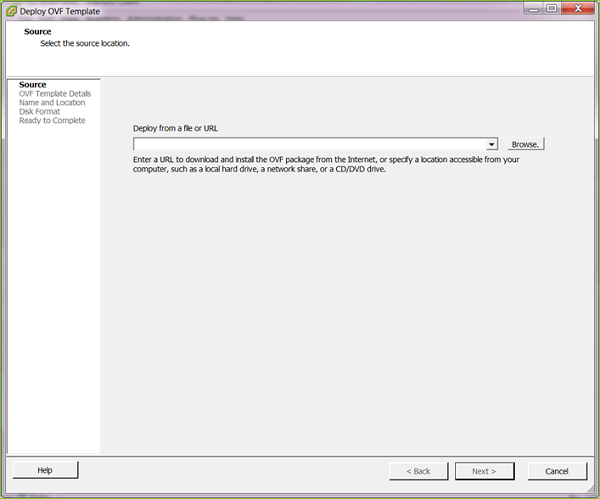
- Click Browse and select the .ova file from your file system.
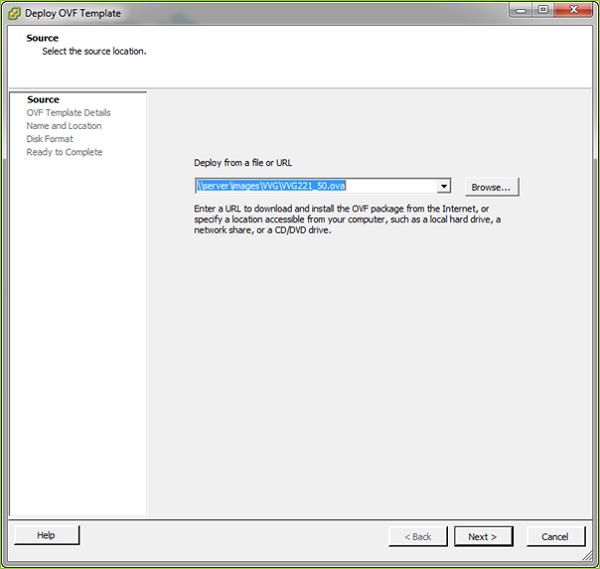
- Click Next. The dialog box changes to OVF Template Details.
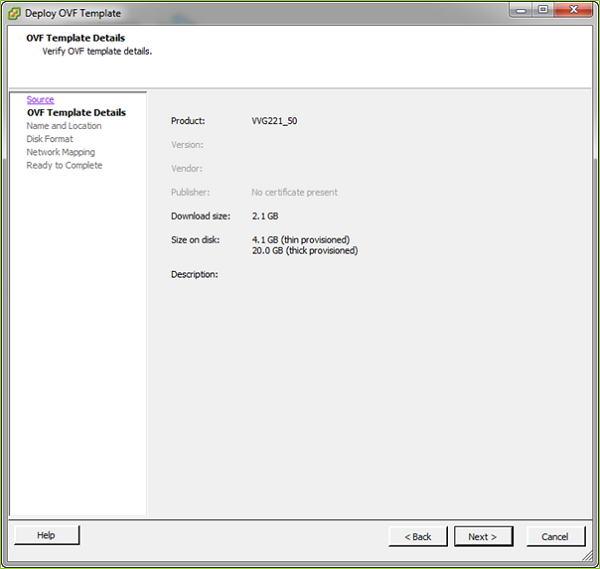
This screen is read-only. If you need to change anything, click Back.
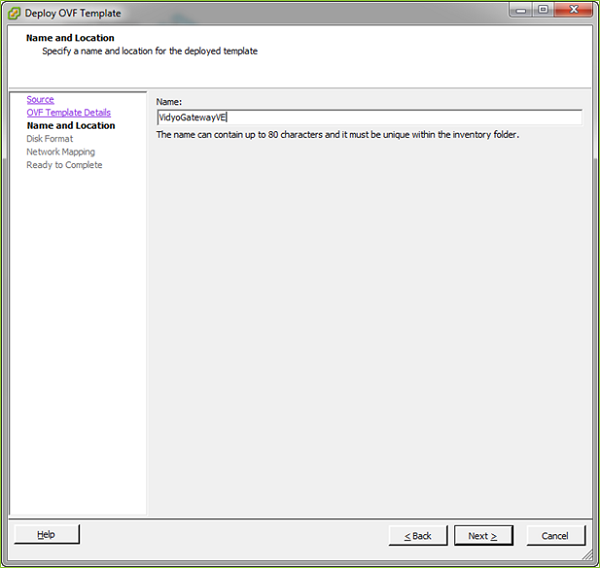
- Click Next. The dialog box changes to Name and Location.
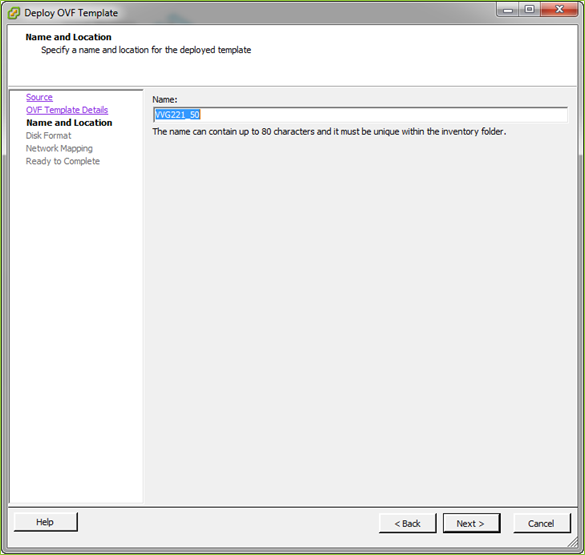
The name displayed is a copy of the .ova filename as the vSphere default.
- Type in a more descriptive name if desired.
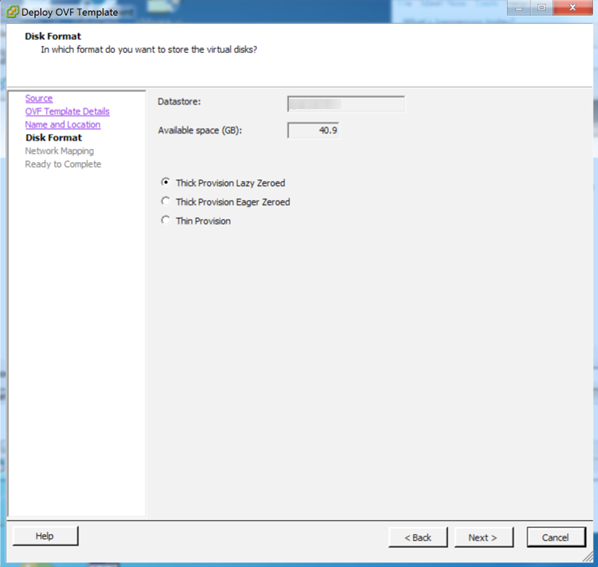
- Click Next. The dialog box changes to Disk Format.
- Ensure that either the Thick Provision Lazy Zeroed or Thick Provision Eager Zeroed radio button is selected.
- Click Next. The dialog box changes to Network Mapping.
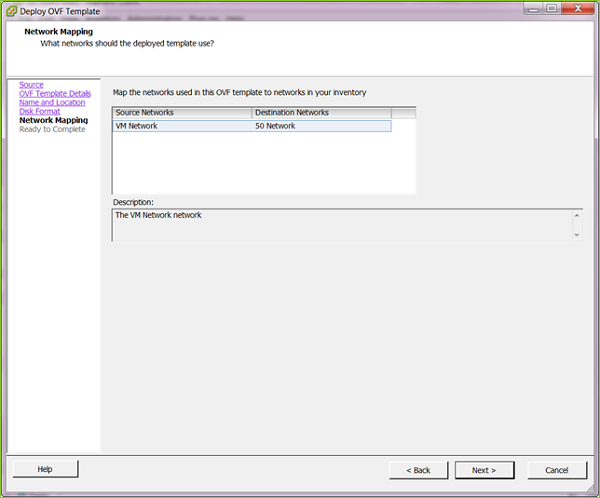
- Select the one network available for the VidyoGateway VE to use.
- Click Next. The dialog box changes to Ready to Complete.
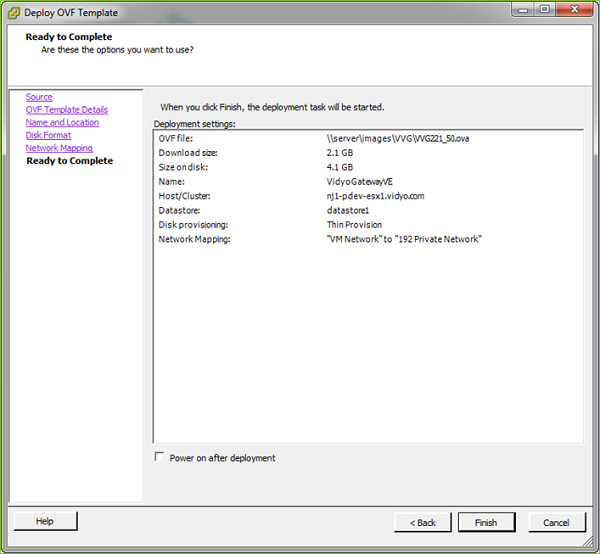
- Select the Power on after deployment checkbox to start your VidyoGateway immediately after you take the next step.
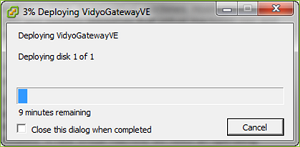
- Click Finish. The Deploying VidyoGatewayVE dialog box displays.
The Deployment Completed Successfully dialog box displays.
- Click Close. The vSphere Client window displays.
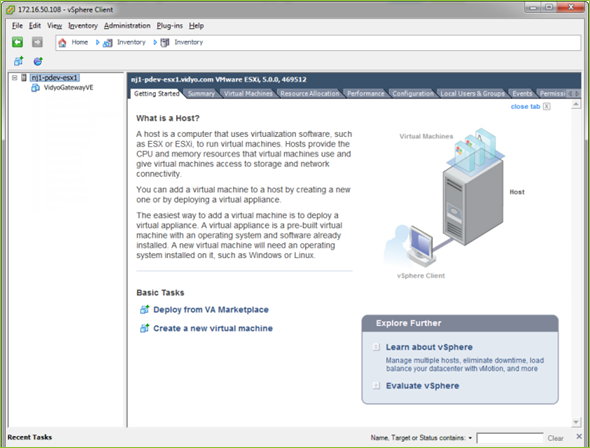
- Click the + sign to the left of the ESXi host name.
- Click VidyoGateway VE in the left-side pane. The tabs change.
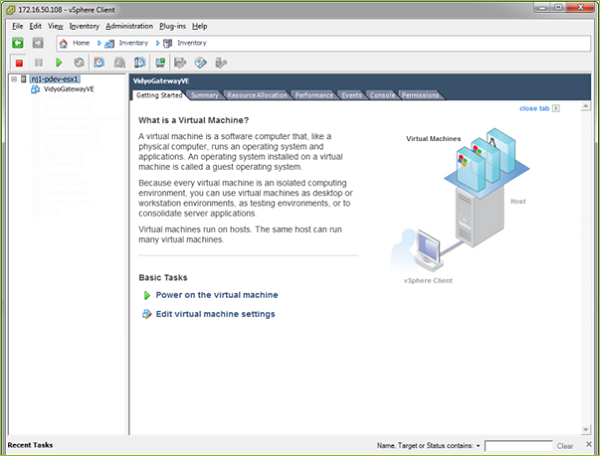
- Click the Console tab. The VidyoRouter VE System Console displays.

- Log in as Admin. If you haven’t changed your password yet, use the default password we have provided for you.
You can now configure your VidyoGateway VE network settings as described in View application and system information and Add a VidyoGateway to your VidyoPortal in the VidyoPortal and VidyoRouter Administrator Guide.