Install VidyoReplay VE
|
Note The virtual appliance's filename reflects the appliance type and the software version. The following screenshots refer to the deployment of a VidyoReplay virtual server appliance with the latest software version at the time of release. For information about release versions, refer to the VidyoReplay Release Notes. |
To install the VidyoReplay VE:
- Log in to the vSphere client (provided with VidyoReplay VE) on your system.
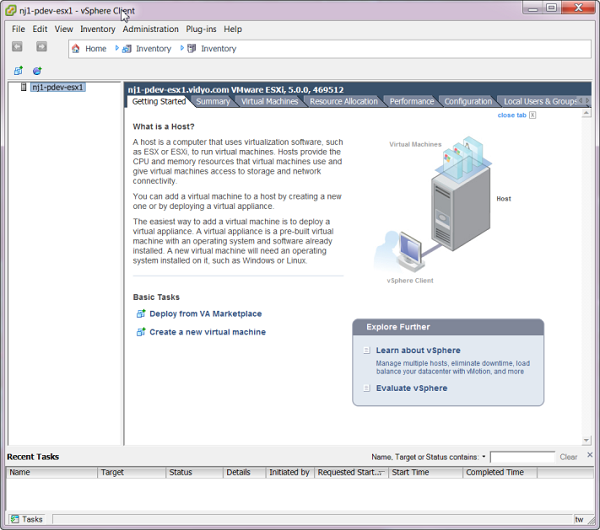
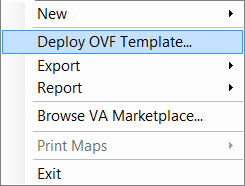
- From the File menu, select Deploy OVF Template.
The Source dialog box displays.
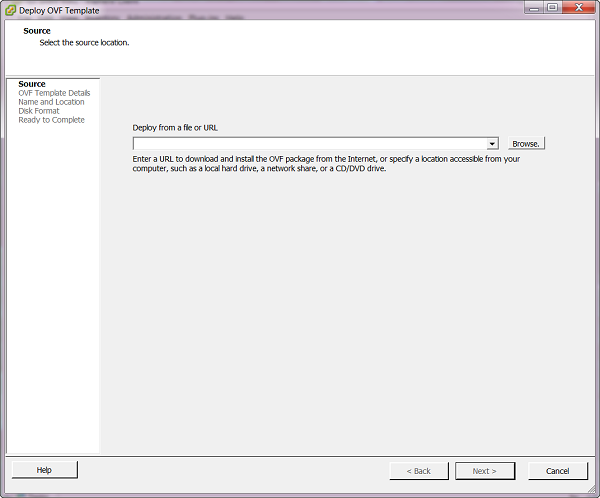
- Click Browse and select the OVA file from your file system.
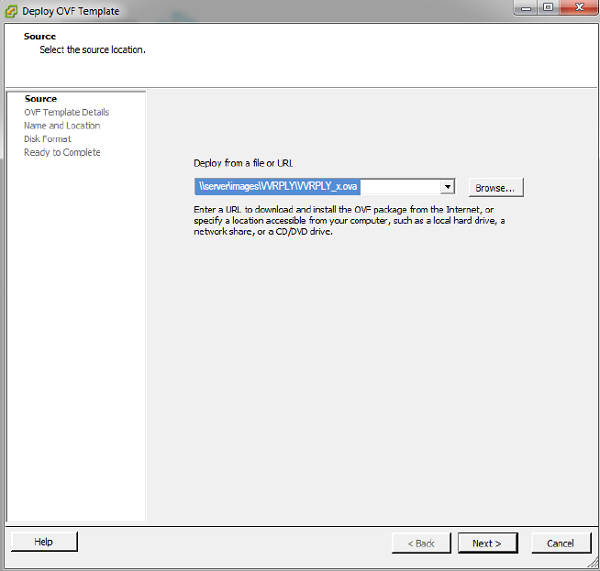
- Click Next. The dialog box changes to OVF Template Details.
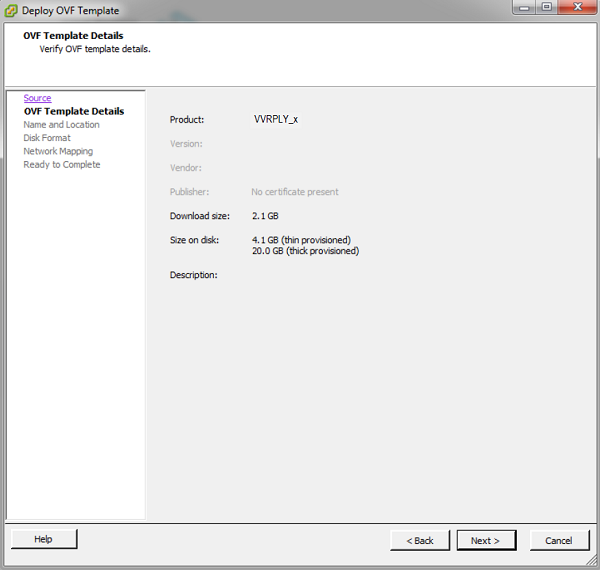
This screen is read-only. If you need to change anything, click Back.
- Click Next. The dialog box changes to Name and Location.
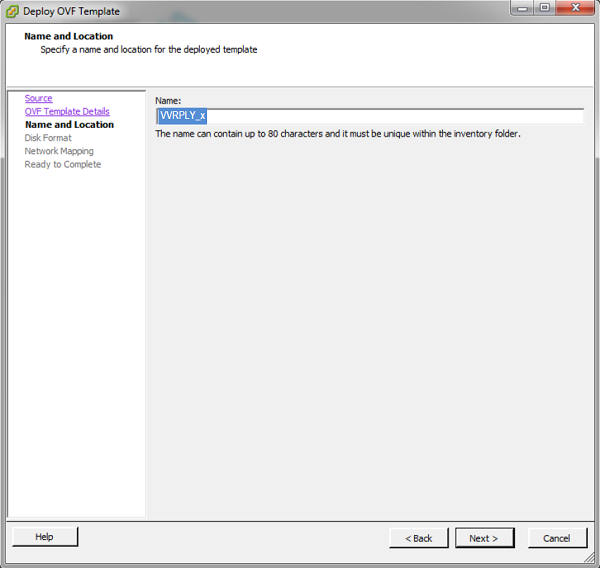
The name displayed is a copy of the .ova filename as the vSphere default.
- Type in a more descriptive name if desired.
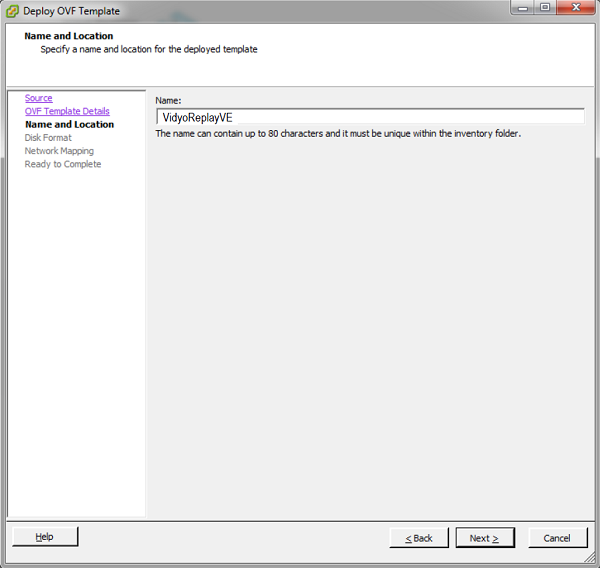
- Click Next. The dialog box changes to Disk Format.
- Be sure to select Thin Provision.
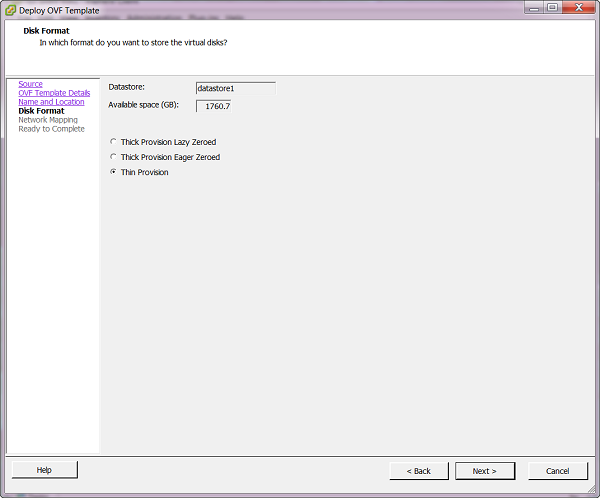
- Click Next. The dialog box changes to Network Mapping.
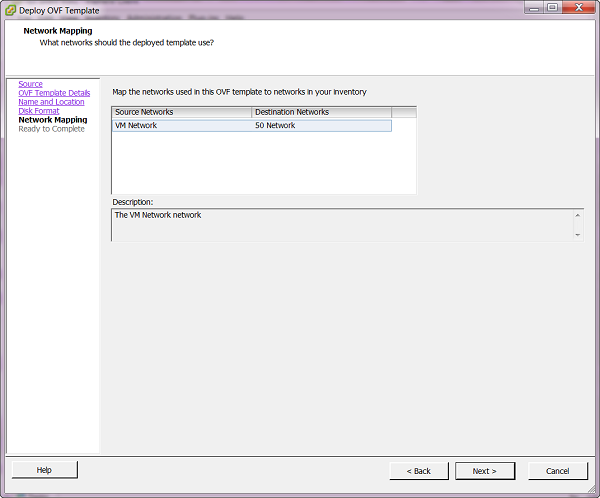
- Select the one network available for the VidyoReplay VE to use.
- Click Next. The dialog box changes to Ready to Complete.
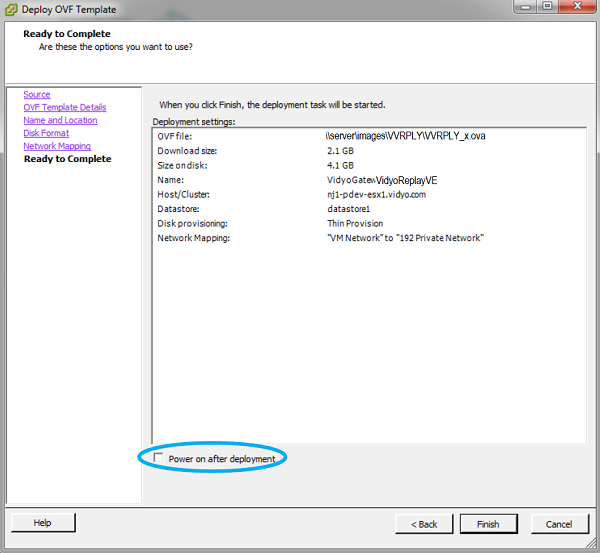
- Select the Power on after deployment checkbox to start your VidyoReplay immediately after you take the next step.
- Click Finish. The Deploying VidyoReplayVE dialog box displays.
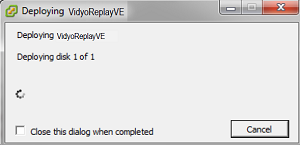
The Deployment Completed Successfully dialog box displays.
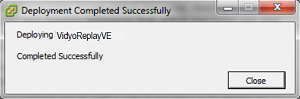
- Click Close. The vSphere Client window displays.
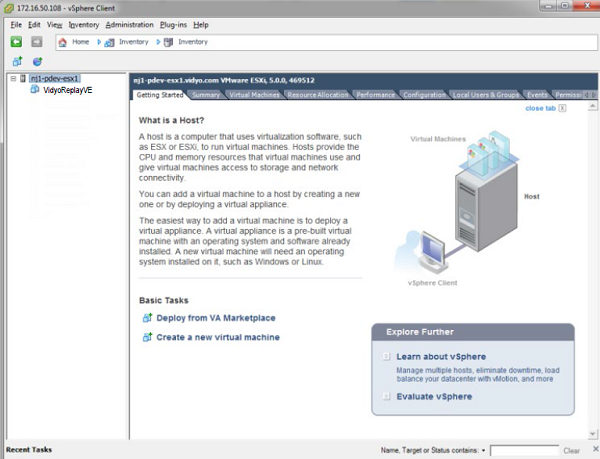
- Click on the + sign to the left of the ESXi host name.
- Click on VidyoReplay VE in the left-side pane. The tabs change.
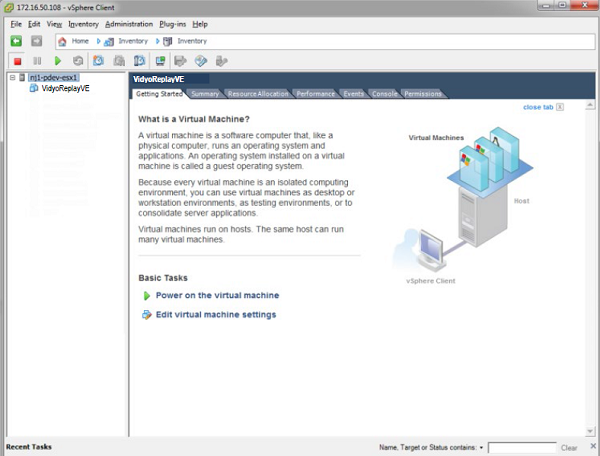
- Click the Console tab. You’re at your VidyoReplay VE’s System Console.
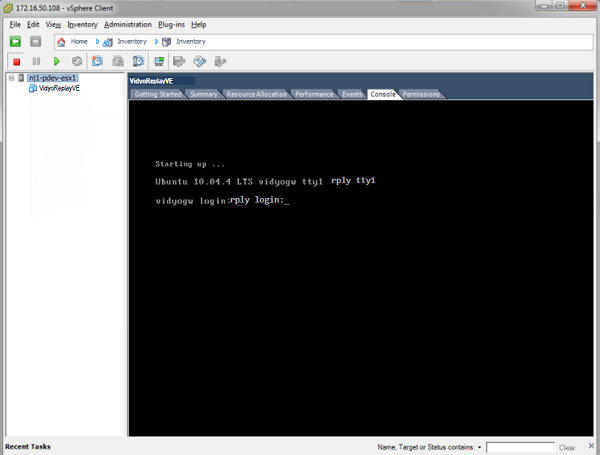
- Log in as Admin. If you haven’t changed your password yet, use the default password we have provided for you.